
Keep Sound Polyurethane, Then Prepare Cabinets for Paint
Find out when polyurethane can stay on cabinets, how to clean and scuff it, which primer properties matter, and when an adhesion test should stop the job.
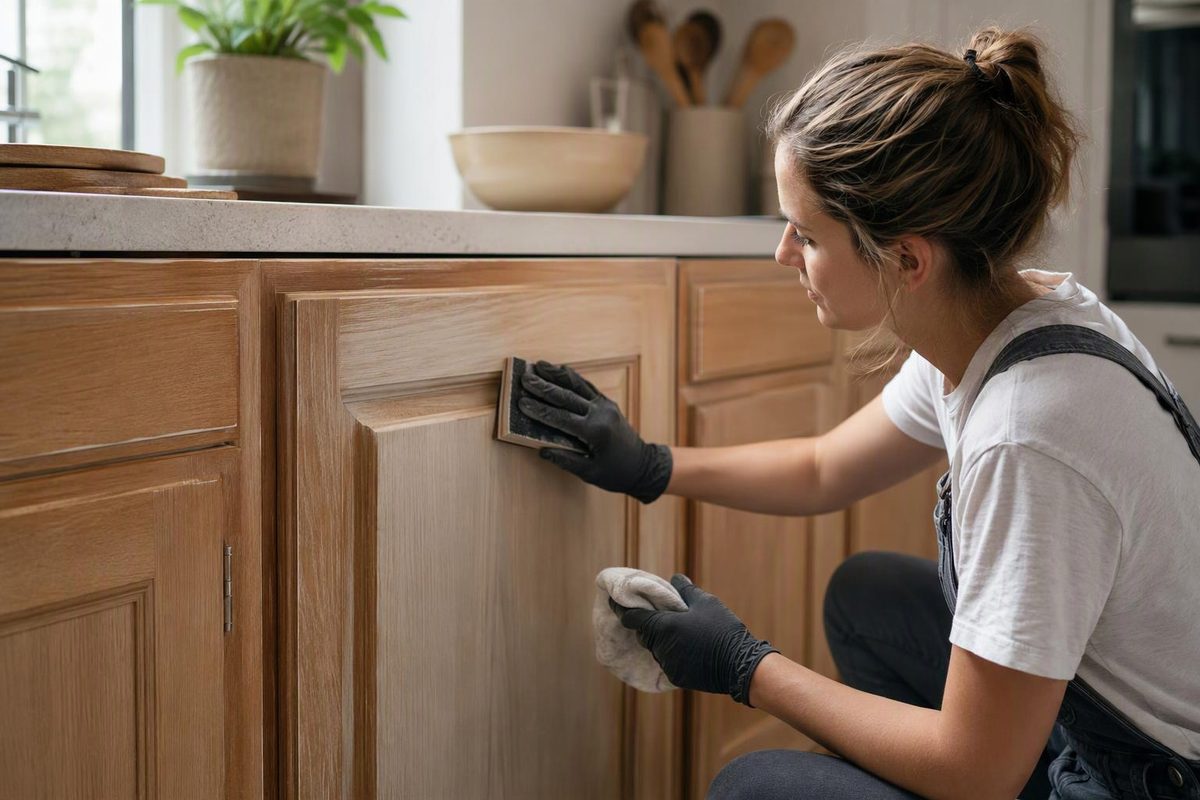
Yes—you can paint on top of polyurethane-coated kitchen cabinets without stripping them to bare wood, provided the existing finish is sound and your coating system is compatible with it. The usual route is to clean, scuff-sand, prime and apply a cabinet-rated paint. Benjamin Moore’s cabinet-painting guidance recommends roughening the existing finish rather than removing it entirely.
That means painting over a prepared finish, not brushing paint straight onto a glossy door. Grease and hand oils around handles and cooking areas need to be removed before sanding.
Choose your finish condition, residue history and test status to find the next step.
Check Your Next Preparation Step
The sound finish can stay.
Clean, dry and prepare it to your primer's instructions, then test the complete primer-and-paint system on a representative area. Follow the specified waiting interval and check adhesion and discoloration before painting the remaining cabinets.
Scuff-sanding is the usual route. Skip it only when your chosen product permits that preparation and its adhesion test supports it.
Before disturbing old coatings: For a U.S. home built before 1978, assess lead-based paint on the surfaces involved and follow EPA lead-safe guidance.
Sources: INSL-X Stix technical data sheet; General Finishes existing-finish and Stain Blocker instructions; Sherwin-Williams cabinet guidance; EPA. This check selects a next step, not a compatibility guarantee.
Sound Polyurethane Can Stay; Loose Coatings Cannot
Keep an intact, firmly attached coating. If it is peeling, flaking or separating, remove the loose material and repair damaged areas before recoating. Primer cannot make a failing underlying layer sound. The INSL-X Stix technical data sheet requires clean, dry, sound surfaces and removal of loose coatings.
Before sanding or scraping old coatings: In a U.S. home built before 1978, assess whether lead-based paint is present on the surfaces you will disturb. EPA recommends testing by a certified lead inspector or risk assessor and hiring a lead-safe certified contractor. If you do the work yourself, follow its lead-safe renovation guidance. Follow coating-label requirements for ventilation and protective equipment as well.
A clear-looking cabinet finish is not necessarily polyurethane, especially when its coating history is unknown. General Finishes recommends testing the finishing process on a heavily used door or drawer first. It warns that silicone-containing polish, wax and oil-soap residues can interfere with adhesion; silicone contamination can be particularly difficult to remove. Its existing-finish preparation guidance addresses these risks.
If the cabinets have recently been clear-coated, check the polyurethane manufacturer’s instructions for recoating and compatibility. “Dry to the touch” does not necessarily mean ready for another coating system.
Clean, Scuff and Prime Before Applying Cabinet Paint
Remove Doors and Hardware Before Coating
Label the doors and their locations, then remove hinges, handles and drawer fronts where practical. Work on a protected surface with room for the pieces to dry. Removing hardware also avoids paint buildup that can interfere with door operation. Sherwin-Williams cabinet-painting guidance includes this preparation step.
Remove Grease Before Sanding
Use the cleaner recommended for your chosen coating system, paying particular attention to handles, door edges and cabinets near the range. Rinse when the cleaner’s instructions require it, then let the surfaces dry thoroughly.
Sanding is not a substitute for degreasing. General Finishes identifies grease, hand oils, wax and silicone-containing sprays as common causes of chipping, peeling and flaking on refinished cabinets. Its high-use cabinet preparation starts with detergent cleaning and rinsing before further preparation.
Scuff the Finish Without Stripping It to Wood
The aim is to prepare the coating for adhesion, not erase every trace of polyurethane. Use the abrasive specified by the primer manufacturer, reaching recessed profiles as well as flat faces. Be gentle on corners and edges.
There is no single grit for every system. For example, General Finishes specifies a 220–320-grit sanding pad for sealed surfaces under its Stain Blocker. Remove sanding dust and allow the surface to dry before priming. Its Stain Blocker instructions also cover cleaning, stain control and testing over existing finishes.
Match the Primer to Adhesion and Stain Risks
Choose a primer suitable for the existing finish and compatible with your topcoat—not merely one labelled “for wood.” Adhesion and stain blocking solve different problems.
| Primer Property | What It Addresses |
|---|---|
| Adhesion | Bonding to the prepared, sealed surface |
| Stain blocking | Keeping stains, dyes or tannins from showing through |
For white or pale paint over stained wood, check stain-blocking performance as well as adhesion. General Finishes describes its Stain Blocker as a barrier against stains, dyes and tannins, but cautions that not all bleed-through can be prevented.
You are not automatically restricted to oil-based paint because the old polyurethane is oil-based. Compatible bonding-primer systems can accept waterborne or oil-based topcoats. For example, the 2022 Stix technical data sheet permits latex and oil-based finishes over that primer. Check the current instructions for the products you buy rather than assuming any primer-and-paint combination will work.
Test the Complete System Before Painting Every Door
Prepare and coat a representative test area using the complete planned system. Follow the manufacturer’s adhesion-testing method and waiting interval, and check for discoloration before proceeding. General Finishes’ Stain Blocker instructions call for testing adhesion and the entire finishing process over existing finishes.
If the test coating peels or fails to bond, do not continue with the rest of the kitchen using the same preparation and products. A primer coat that looks smooth immediately after application is not a substitute for the specified test.
Skipping Sanding Requires Product-Specific Evidence
Sometimes a bonding primer permits it—but “no sanding” does not mean “no preparation.” Sherwin-Williams says sanding may be unnecessary on many clean, paintable surfaces when an Extreme Bond Primer test establishes adequate adhesion. That is a product-specific option, not a guarantee for every polyurethane-coated cabinet. With an unknown finish history, light scuff-sanding is the more conservative plan. See its cabinet-painting guidance.
Do not transfer a no-sanding claim from one primer to another. Use the preparation and test requirements for the actual primer-and-paint system you intend to apply.
Allow the Paint to Harden Before Heavy Use
Choose a paint explicitly intended for cabinets and follow its coat thickness, recoat and return-to-service instructions. Our lacquer versus enamel guide explains the practical application differences.
Allow time before reinstalling hardware and treating the kitchen as fully finished. Dry paint continues developing hardness and adhesion: for its Advance cabinet system, Benjamin Moore recommends avoiding heavy abrasion or cleaning for at least five to seven days. Other products have different schedules. Follow the product-specific Benjamin Moore drying guidance, rather than treating that interval as a rule for all cabinet paints.
If hiring a refinisher, ask the quote to identify the cleaning method, preparation, primer, topcoat, adhesion test and return-to-service schedule. “Paint over existing cabinets” leaves the work that determines adhesion unspecified.