
Get Rid of Wood Scratches Without Making Cabinet Damage Worse
Choose the right cabinet scratch repair: gentle cleaning, a matching touch-up pen or a fill stick. Know when sanding or refinishing is the wrong move.
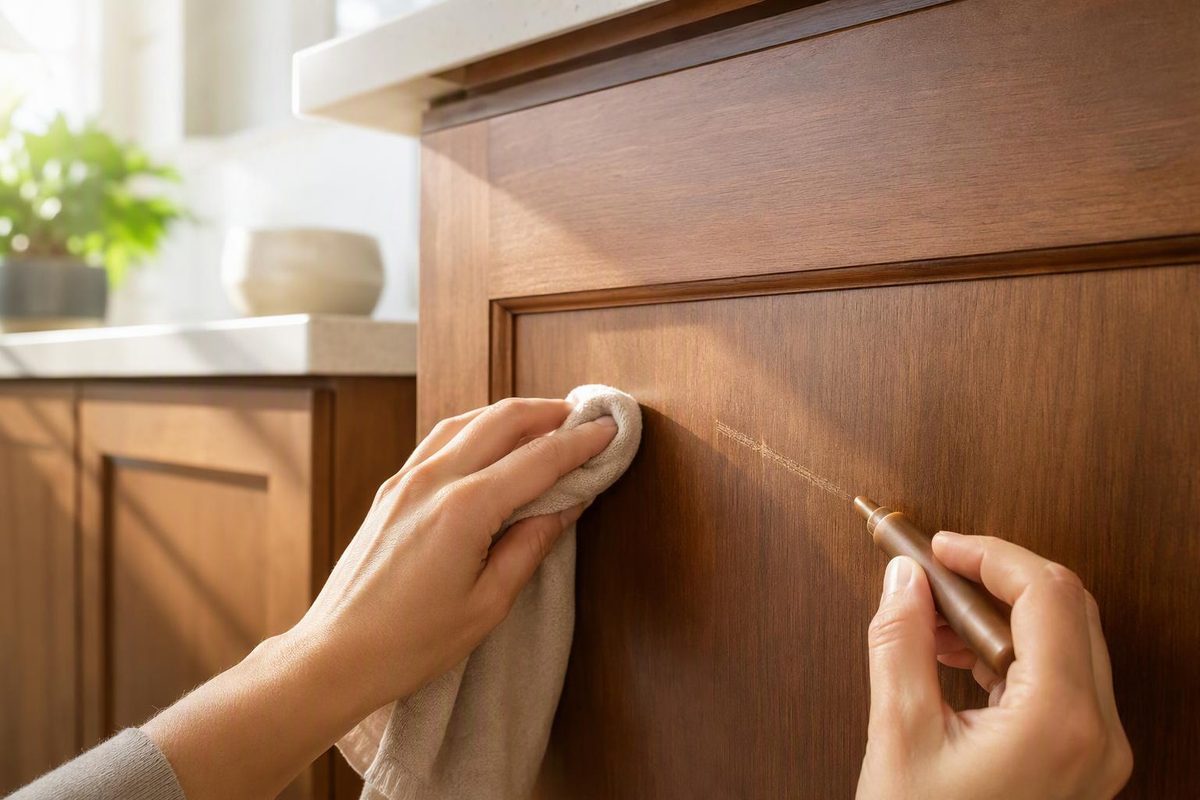
To get rid of wood scratches on kitchen cabinets, start with the least invasive repair: clean the mark, replace missing color if necessary, and use a fill stick for a small groove or nick. A touch-up pen conceals color loss; a fill stick fills a small defect. Neither restores the original wood or guarantees an invisible repair.
The important distinction is whether you have damaged the protective finish, exposed the wood beneath it, or cut through the cabinet’s visible face.
Clean first, then judge the scratch
Wipe the area with a soft, barely damp cloth and dry it thoroughly. For grease, use a cleaner approved by the cabinet manufacturer. Do not start with a scouring pad or abrasive cleaner: KraftMaid’s care guidance recommends gentle cleaning and warns against abrasive formulas and intense scrubbing.
Once dry, inspect the mark in ordinary kitchen light and with light coming across the surface:
- The mark disappears and the surface looks intact: No touch-up is needed.
- A fine line remains, but the underlying color is intact: Treat it as possible topcoat damage. Do not automatically draw over it with a stain marker. Ask the maker which finish-repair method is suitable.
- A pale line or worn edge exposes wood: A matching touch-up pen is a reasonable first option.
- A small groove or nick remains: A matching fill stick intended for finished cabinetry may conceal the defect.
- The face is peeling, lifting or exposing the panel core: This is more than a cosmetic scratch. Get a repair assessment before adding color or filler.
Also confirm the surface material. Real-wood veneer, solid wood, painted MDF and wood-look laminate are not interchangeable repair surfaces. If you are unsure, check the original cabinet specifications rather than assuming visible grain means solid wood.
For missing color, use a matching touch-up pen
Start with the cabinet maker’s kit for the exact finish, if available, and follow its instructions. On painted cabinetry, use the matching paint touch-up product—not a brown wood-stain marker.
MasterBrand’s touch-up instructions specify a marker for scratches, worn areas and edges where raw wood is exposed. Its guidance calls for several light coats when needed, rather than one heavy application.
- Test the product on a concealed area with the same finish, or on a spare finished sample. A bare cabinet back will not tell you how it looks on the door face.
- Prepare the pen as its label directs. For pump-tip pens, prime on scrap material so the tip is moist, not dripping.
- Apply narrowly to the damaged line. Avoid coloring the surrounding intact finish.
- Let it dry according to the product instructions, then assess the match before adding more.
For a tiny painted chip, KraftMaid recommends lightly dabbing matching paint and letting it dry before additional coats. A large patch is a different job: matching the color alone may not blend the surface sheen.
For a small groove, use a fill stick
A cabinet fill stick is a crayon-like repair material, not ordinary wood filler intended to be sanded across the face.
Following MasterBrand’s fill-stick method:
- Rub the matching stick into the defect until it is filled.
- Carefully remove excess and level the repair with a plastic scraper or an old credit card.
- Wipe the surrounding area with a clean, dry, lint-free cloth.
Keep the repair local. Do not spread filler across a broad area or sand the door merely to remove excess. Add a clear coat only if the cabinet maker and repair-product instructions approve it for that finish.
When to stop touching up
Do not start by sanding a finished cabinet face to chase one scratch. Veneer is particularly unforgiving: Oakwood Veneer’s refinishing guidance distinguishes lightly scuffing the finish from wearing through the thin wood layer. Our cabinet veneer sanding guide explains the preparation decision in more detail.
Skip kitchen-oil, walnut and furniture-polish shortcuts unless the cabinet maker approves them. KraftMaid specifically advises against wax polishes, petroleum solvents and silicones on its finishes. A localized repair stick is a different use from polishing the whole door.
For widespread scratches, deep gouges, loose veneer or a repair that leaves a conspicuous sheen patch, ask about professional repair, whole-door refinishing or a replacement front. Compare those options before turning a small blemish into a full refinishing project. If the cabinets are newly delivered, photograph the damage and contact the supplier before attempting a repair.