
Can You Sand Veneer Wood? Protect the Thin Cabinet Face
Yes—but lightly. Learn how to identify real veneer, choose sanding grit, and decide whether to scuff, strip, repair or replace cabinet faces.
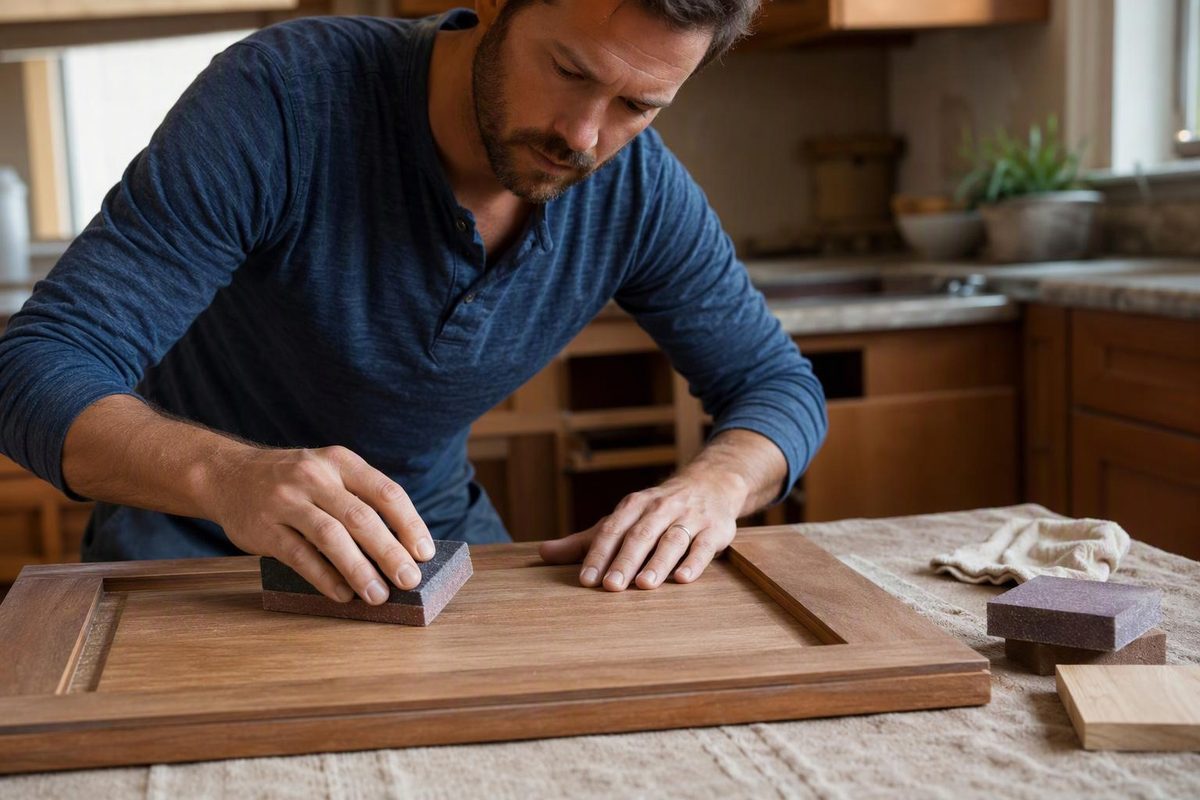
Yes, you can sand real wood veneer—but only lightly, and only while the wood layer remains intact. Veneer is a thin slice of wood, not a solid board. Sanding through it exposes the backing or core, so the aim is to prepare the surface, not grind away damage. FormWood’s sanding guidance makes that distinction explicit.
For kitchen cabinets, first decide whether you need to scuff an existing finish for paint or expose wood for a new stain. Those are different jobs, with different risks.
Confirm what the cabinet face actually is
Check the original specification or ask the cabinet manufacturer whether the visible face is real wood veneer, laminate or another decorative covering. A wood-grain appearance alone is not enough: real veneer is wood bonded to a core, while high-pressure laminate uses resin-bonded layers that can imitate wood. You cannot sand laminate back to stainable wood. Oakwood Veneer explains the material difference.
Inspect each component separately rather than assuming doors, drawer fronts and exposed cabinet ends share the same construction. An existing exposed edge or damaged spot may provide a clue; do not create a new chip to investigate. Our guide to different cabinet veneer materials explains why the label needs checking.
If the surface is loose, blistered or cracked, pause for repair assessment. Sanding is not a fix for a failed bond. Also ask about previous refinishing: an unknown sanding history leaves you without a reliable estimate of how much wood remains.
Before disturbing old paint in a pre-1978 U.S. home, assess the lead risk. EPA recommends testing by a certified lead inspector or risk assessor and hiring a lead-safe certified contractor. Sanding lead-based paint can create hazardous dust. EPA’s homeowner guidance explains the precautions.
Choose the least destructive preparation
Painting over a sound finish
You may not need bare wood at all. The task is to clean the surface and prepare the existing coating for a compatible primer and paint.
For its light-color cabinet-painting system, General Finishes specifies degreasing and thorough rinsing, a second scrub with a 50:50 denatured-alcohol-and-water mixture, then light sanding with a 220–300 sanding pad or 400-grit sandpaper. It follows that with two coats of its Stain Blocker primer. This is a product-specific scuffing procedure—not an instruction to remove the veneer’s finish completely. Follow the preparation and safety requirements of the coating system you choose. General Finishes’ cabinet preparation instructions provide the example.
For an existing polyurethane coating, see our paint-over-polyurethane preparation guide.
Restaining to show the wood grain
Do not try to remove a thick old coating by sanding straight through it. In a veneered-furniture refinishing example, Rockler’s woodworking advisers recommend trying gentle cleaning first. If coating removal is necessary, they suggest testing a suitable stripper in an inconspicuous area rather than risking sanding through the thin wood face. Read Rockler’s refinishing guidance.
A stripper still needs a compatibility test and careful use according to its label. Do not assume it will remove all old color, or that a formerly dark cabinet can safely become pale by sanding deeper.
What grit should you use on bare veneer?
There is no universal grit sequence for every cabinet face.
- Already-smooth or pre-sanded veneer: Oakwood recommends 220 grit for preliminary sanding of its pre-sanded sheets.
- Raw veneer needing preparation: FormWood gives a general 150 → 180 → 220 sequence, but says the starting point depends on the sanding already performed at the factory.
- An existing finish being scuffed: Use the coating manufacturer’s specified abrasive, rather than a raw-wood sanding sequence.
These recommendations come from Oakwood and FormWood. They are not permission to start every old cabinet at 150 grit. General Finishes’ stain-preparation guidance explains how final grit affects color acceptance. Check your chosen stain’s instructions and test the complete finish on a matching offcut or discreet area.
Sand with control—and know when to stop
For a homeowner working on an unfamiliar veneer face:
- Start by hand with a flat sanding block.
- Use light, even pressure and strokes along the grain.
- Keep moving; do not concentrate on one scratch or stain.
- Keep the block flat near edges and corners rather than tipping it onto them.
- Remove dust and inspect frequently.
FormWood recommends hand sanding first for control and warns that concentrated pressure or dwelling in one spot can cause sand-through. A power sander is not automatically prohibited, but it is a poor starting choice when the remaining veneer thickness is unknown. FormWood’s technique guidance supports this cautious approach.
Stop if the grain disappears or backing becomes visible. Do not enlarge the patch while trying to blend it. For deep damage, compare professional repair, new veneer or replacement fronts instead of treating more sanding as the solution.
If you are getting a refinishing quote, ask whether it includes coating removal or only scuffing, how the contractor will handle damaged veneer, and whether a sample door will be completed before the full kitchen. The useful promise is a defined preparation and finish—not “sand it like solid wood.”