
Stain Finish on Wood Cabinets: Color Is Only Part of the Finish
Choose stained wood cabinets by species, finished samples and protective topcoat. Learn what to specify in a quote and check before restaining.
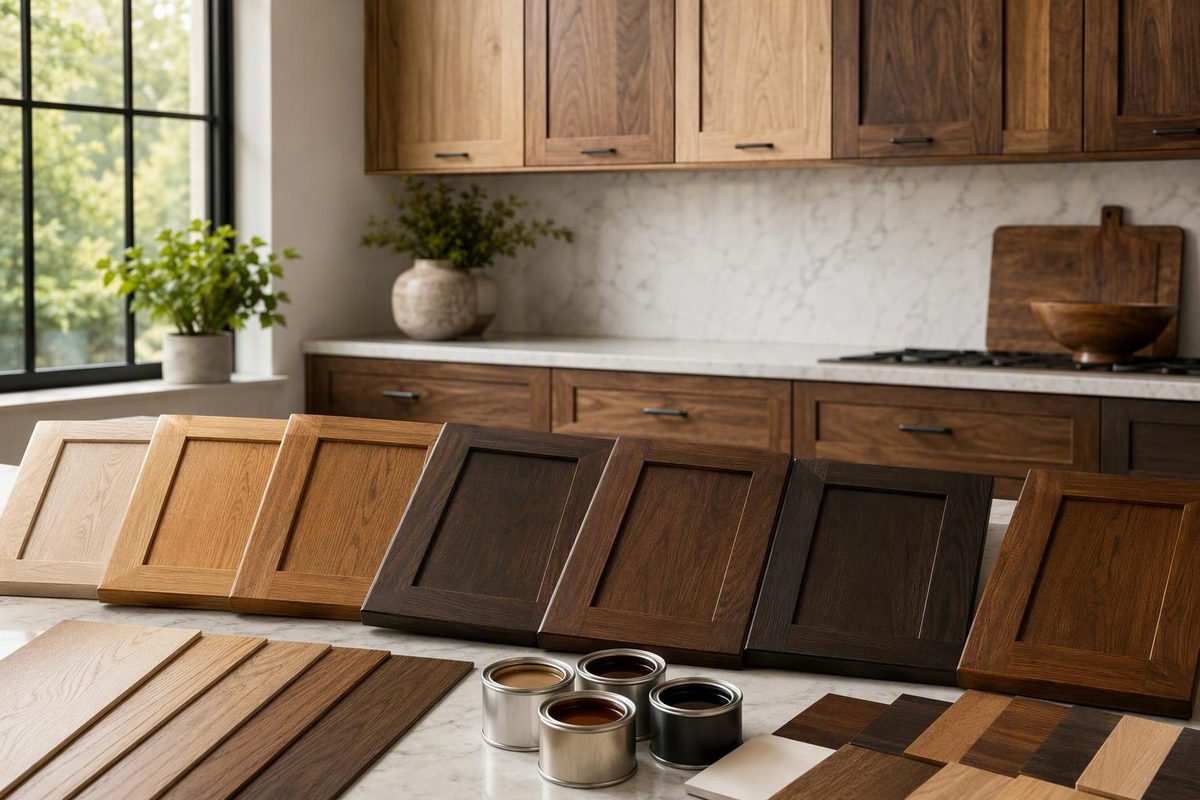
A stain finish on wood cabinets changes the color while leaving some of the grain visible. But stain color and surface protection are separate decisions. For kitchen cabinets, judge the wood, the finished appearance and the protective coating—not just the brown or gray swatch.
That distinction matters even with familiar product names. Minwax Wood Finish is a penetrating stain for bare or stripped wood, and its instructions require a clear protective topcoat. General Finishes likewise requires a topcoat over its gel stain, despite the stain’s initially lustrous appearance. (Minwax instructions, General Finishes instructions)
Choose the wood and stain together
A stain name is not a reliable color specification by itself. General Finishes notes that species, application method and any existing finish affect the result; adding the topcoat deepens the color further. A digital swatch or an unfinished stained sample therefore isn’t enough to approve a kitchen. (General Finishes application guidance)
Start with how much wood character you want:
- For visible grain and color variation: look at lighter, more translucent stains on the species you intend to buy.
- For a more subdued wood appearance: compare darker stains, but check whether they conceal more character than you want.
- For a nearly uniform solid color: compare paint rather than expecting stain to make every piece of wood identical.
KraftMaid identifies pronounced color variation in hickory, a wavy grain in plain-sawn oak, and a more consistent pattern in quartersawn oak. It also explains that light stains emphasize natural characteristics, while dark stains conceal much of the color variation. Wood can change appearance with age; lightly stained cherry, for example, darkens or “mellows.” (KraftMaid wood characteristics)
Ask for a finished door in the actual species, stain and sheen, then inspect more than one sample. Look at the frame, center panel and exposed end grain—not just the middle of a small chip. Dura Supreme recommends several sample doors or displays to show the range of hand-applied color and detailing. (Dura Supreme finish guidance)
For your own comparison, stand the sample upright beside the countertop and flooring under daylight and your planned kitchen lighting.
Check the protective coating
“Stained wood” tells you little about the protective finish. Ask the cabinet supplier what coating seals the color and what care that coating requires.
For example, Dura Supreme describes a stained system with surface preparation, sprayed and hand-wiped stain, and a catalyzed conversion-varnish sealer and topcoat. That is a specific manufacturer’s system—not evidence that every stained cabinet uses the same coating or performs equally. (Dura Supreme stained-finish process)
Treat sheen as a separate appearance choice, not proof of toughness. Inspect the completed sample for shine, texture and how it looks around profiles and corners. If you are choosing a DIY polyurethane, our satin versus semi-gloss guide addresses that narrower decision.
A protective finish still needs sensible kitchen care. KraftMaid recommends prompt spill removal, thorough drying, gentle cleaning and avoiding abrasive cleaners or scouring pads. It specifically warns against leaving wet towels over cabinet doors. Follow the care instructions for the cabinet system you actually purchase. (KraftMaid cleaning and care)
Restaining existing cabinets is a different decision
First establish whether the visible face is solid wood, real-wood veneer or another material. A wood-toned surface alone does not answer that question. For a mixed-material Shaker door, see what makes an MDF panel stainable; for a veneered face, review the limits of sanding veneer before removing material.
Then distinguish two routes:
- Staining bare or stripped wood: a penetrating stain such as Minwax Wood Finish is intended for this surface.
- Adding color over an existing finish: some gel-stain systems permit this after cleaning and light sanding, but it is not a no-prep shortcut.
General Finishes requires preparation, testing of the complete stain-and-topcoat process, and longer drying when its gel stain goes over an existing finish. It also warns against thick, paint-like application. (Minwax surface requirements, General Finishes existing-finish instructions)
Test the whole process on an inconspicuous area before committing to every door. Follow the selected product’s sanding and drying instructions rather than mixing generic advice. For oil-based products, observe ventilation and waste-disposal warnings: stain-soaked rags can spontaneously ignite if improperly discarded. (Minwax safety instructions)
What to put in the cabinet quote
Before approving a stained kitchen, require the quote to identify:
- Visible materials: wood species and solid-wood or veneered construction for doors, panels, exposed ends and trim.
- Color treatment: stain name or code, plus any glaze, distressing or other detailing.
- Protective finish: the manufacturer’s coating system and selected sheen.
- Appearance reference: the approved finished sample and the expected range of grain and color variation.
- Price and support: the finish-option charge, care instructions, warranty terms and available touch-up products.
Compare prices only after those details match. Two quotes that both say “stained oak” may still describe different materials, appearance treatments and protective finishes.